(Note: For full deprovisioning instructions of a product, search "deprovision" in the searchbar.)
Overview: This article presents the procedure for deleting backup data using the File Manager Utility. In this context, delete means to physically destroy the files and remove them from the backup location.
Details:
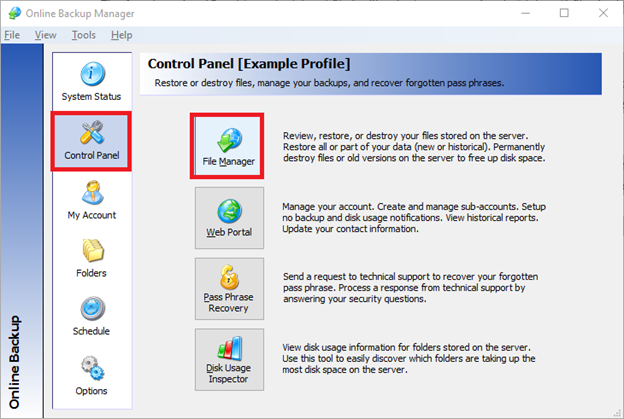
1. Open the Online Backup Manager and select File Manager in the Control Panel page.
2. Select the desired back up location from the drop down menu in the Server field.
You can choose from the destinations that you have defined on the Remote Server, Local Server or Local Disk fields of the My Account page in the Backup Manager.
Then click Next.
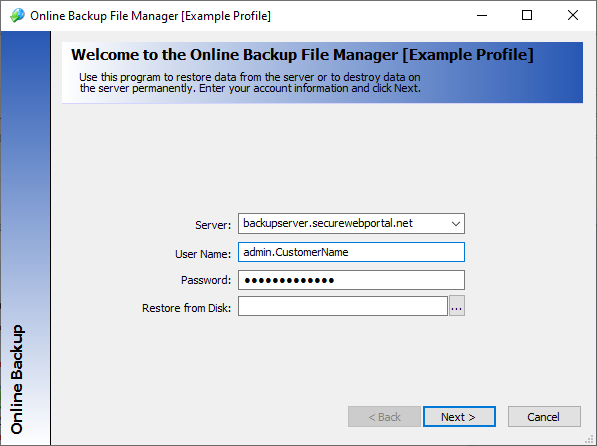
Note: You can enter the user name and password for any account on the Axcient Web Portal, not just the account for the local computer.
3. Click the Destroy Data button.

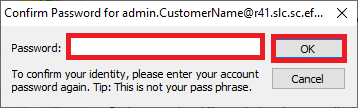
4. Enter your Axcient account password. Then click OK.
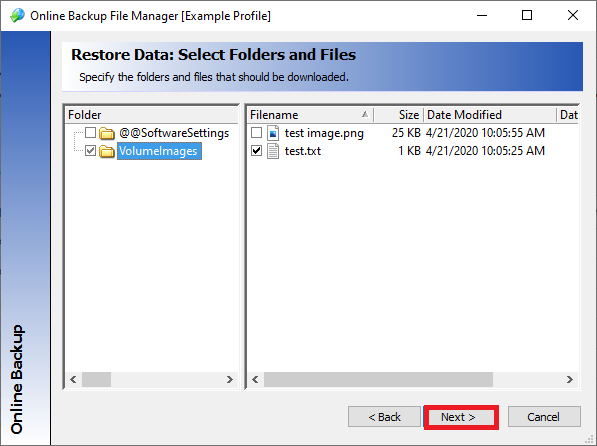
5. Select the folders or files you want to delete. Then click Next.
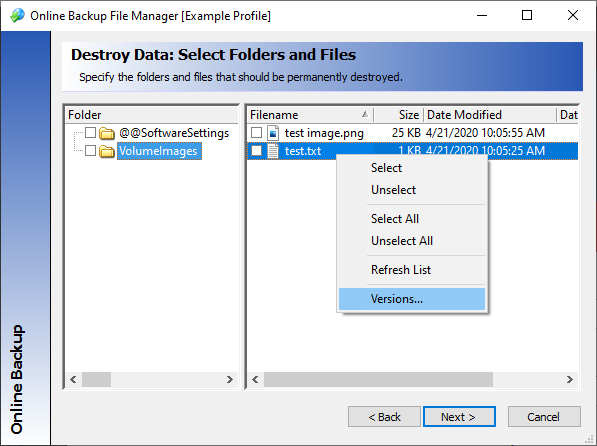
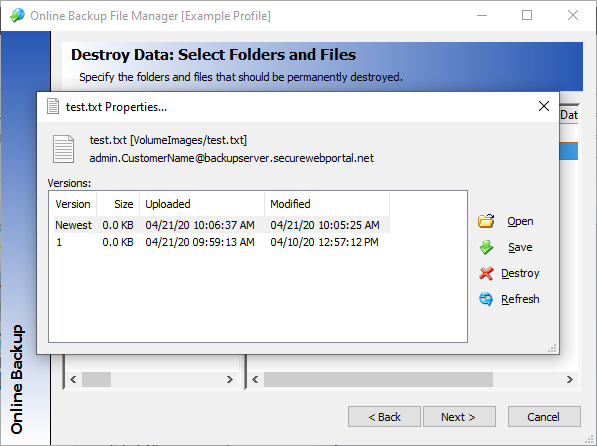
Note: Right click on any file and select Versions to have the option to Open, Save or Destroy any of the versions of the file.
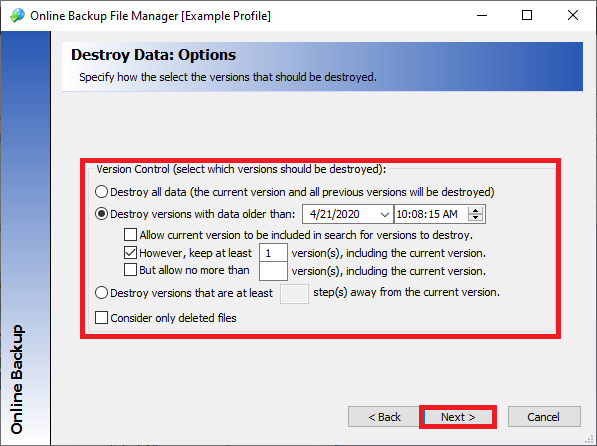
6. Select the options you want on this page:
- The first option (Destroy all data …) will delete all data including the current version.
- The second (default) option (Destroy versions with data older than…) will allow control over the number of versions that will not be deleted.
- The third option (Destroy versions that are at least …) will delete the excess version of the files.
- The fourth option (Consider only deleted files) will only destroy previously “deleted” files in the directories that have been selected.
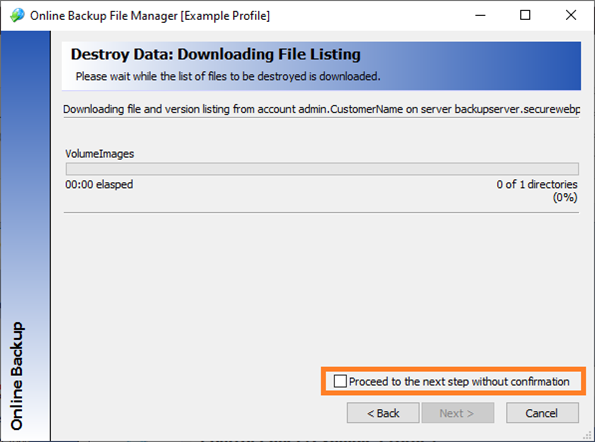
7. The Backup Manager creates a listing of the files you have selected for deletion for your final verification. While this list is being created, an option Proceed to the next step without confirmation is available. If you select this option, the delete procedure will automatically start to delete the selected files when the file list has been created.
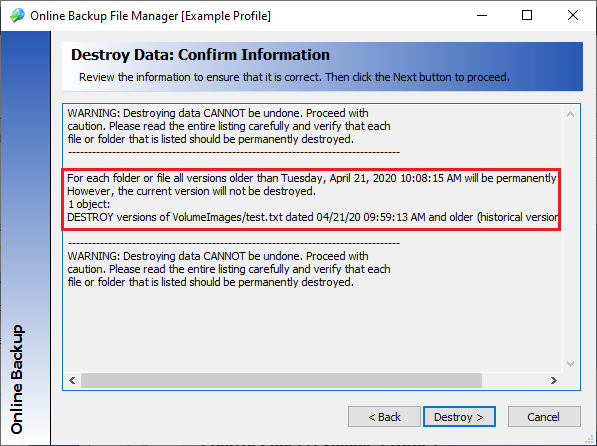
8. After the file listing has been created, review the files marked for deletion to be sure you want to permanently destroy them. You can modify the selection criteria by selecting the Back button.
9. Click the Destroy button when you are ready to initiate the deletion process for the files in the list.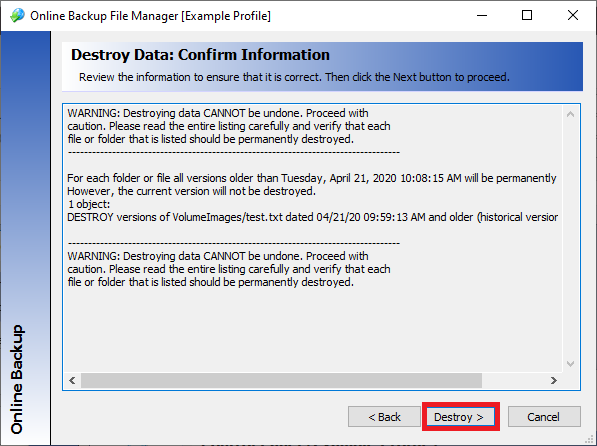
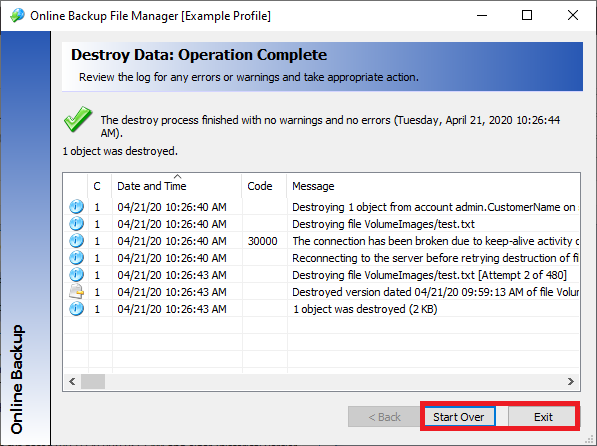
10. After the files have been deleted, a window displays the results of the operation. 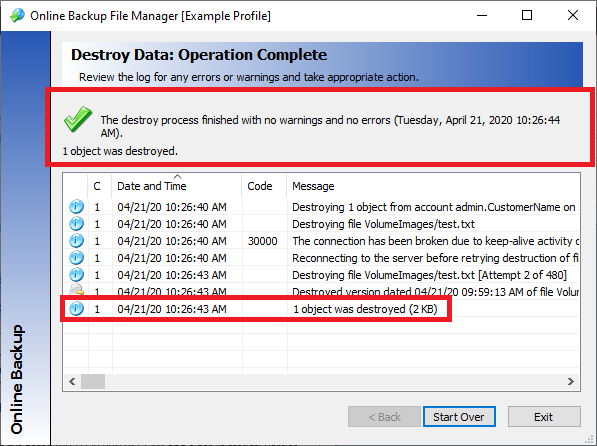
11. Select Start Over to repeat the process or Exit to finish.