
Overview:
This article presents the procedure for restoring data using the File Manager Utility.
Prerequisites:
This article assumes the following:
- The passphrase used to encrypt the data is known or there is an active established profile used to backup the data originally on the system where the restore is taking place.
Steps
CAUTION: If the purpose of the restore is to recover a system after a catastrophic failure or a system refresh, please review following article and refer to it during the restore process:
How do I restore my data and continue incremental backups after my computer crashes?
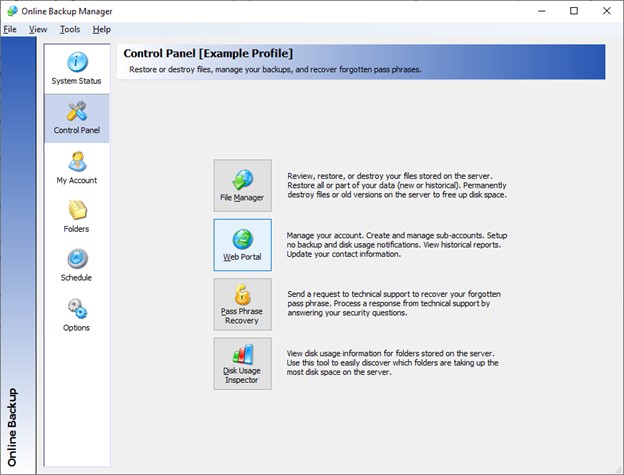
1. Open the Online Backup Manager and select File Manager in the Control Panel page.
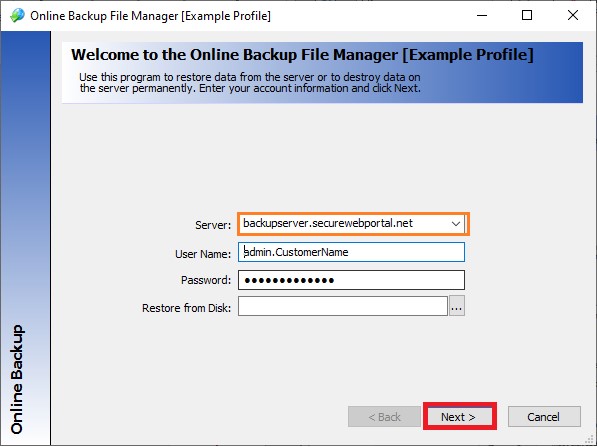
2. Select the desired back up location from the drop-down menu in the Server field.
You can choose from the destinations that you have defined on the Remote Server, Local Server or Local Disk fields of the My Account page in the Backup Manager. Then click Next.
Note: You can enter the user name and password for any account on the Web Portal, not just the account for the local computer.
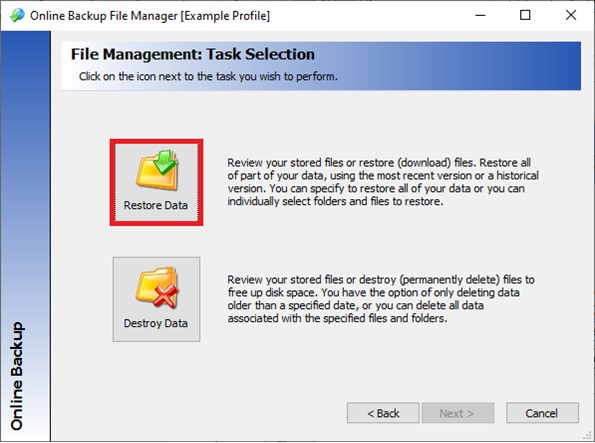
3. Click the Restore Data button.
NOTE: If restoring data to a server other than the one that created the initial backup, you will be prompted to enter the Axcient account password. Enter the password; then click OK.
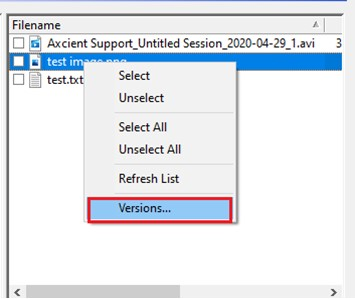
4. Select the folders and/or files to be restored. Then click Next.
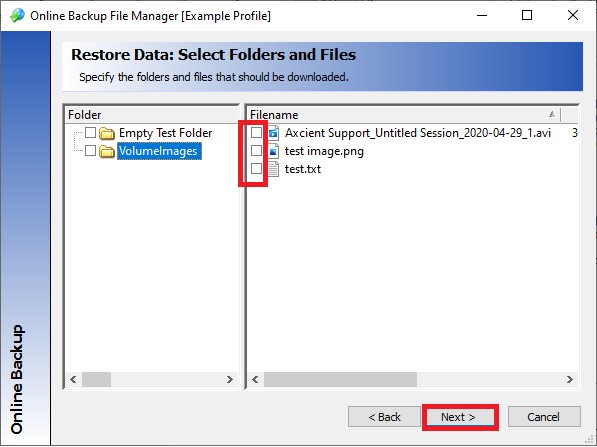
Note: You can right click on any file and select Versions to have the option to Open, Save or Destroy any of the versions of the file.
|
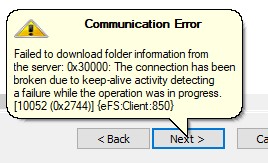
IMPORTANT: If you do not click the Next button before the session to the servers time out, you will get an error when you try to click Next. This is a security precaution. Not all actions on this page will keep the connection alive. |
Possible error #1 when connection has timed out: |
|
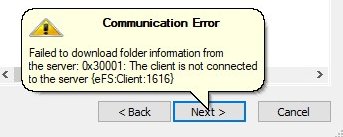
Possible error #2 when connection has timed out: |
|
To resolve this error, click the Back button until you reach the log in screen, and then proceed forward with your restore again, ensuring you make the needed selections before the connection times out again. |
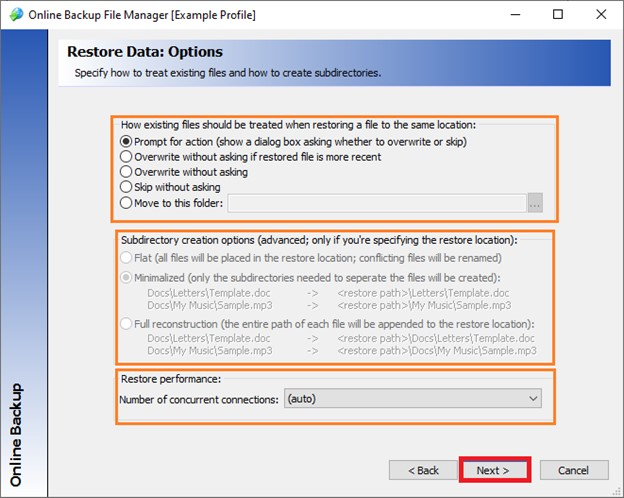
5a. Select the options you want on the first Restore Data: Options page:
- The top option will restore data to the original location.
- The second option will redirect to the specified folder.
- The default option Most recent data allows the current version of each file to be restored.
CAUTION: The bottom option Rebuild incremental backup cache file listing instead of restoring will only update the local backup cache (not typically used when restoring files).
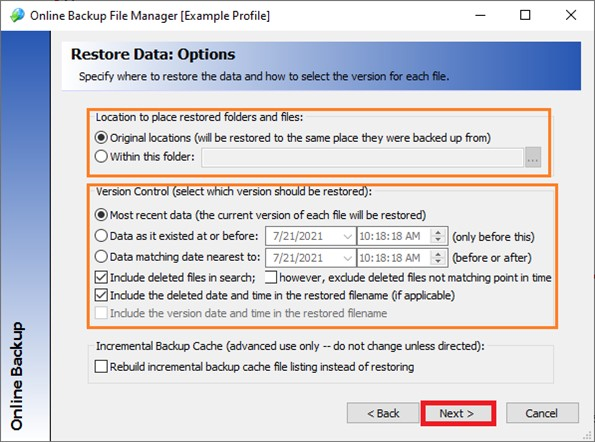
Click Next to continue.
5b. The second Restore Data Options screen asks you to select how existing files should be treated during the restore operation.
Make the selections you desire and click Next to continue.
6. The Backup Manager creates a listing of the files you have selected to be restored for your final verification.
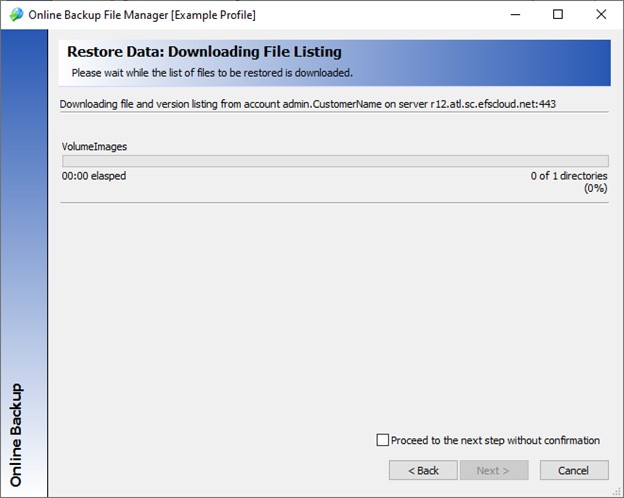
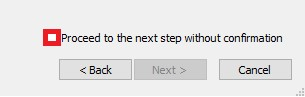
While this list is being created, the option Proceed to the next step without confirmation is available.
If you select this option, the restore procedure will automatically start to restore the selected files when the file list has been created.
7. After the file listing has been created, review the files marked for restoration to be sure you want to restore these files.
You can modify the selection criteria by selecting Back.
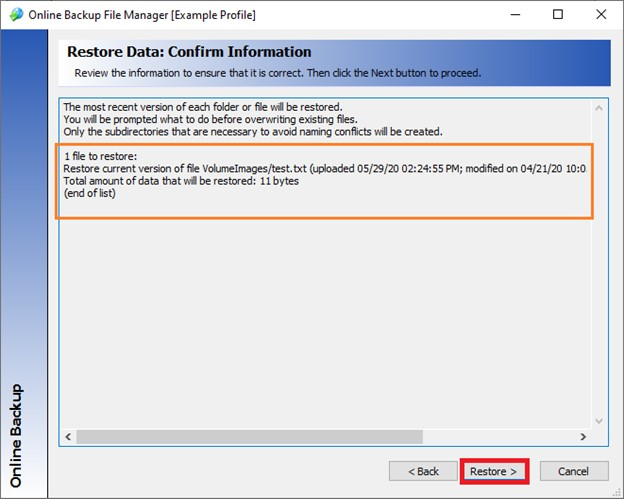
8. Click Restore when you are ready to initiate the restoration process for the files in the list.
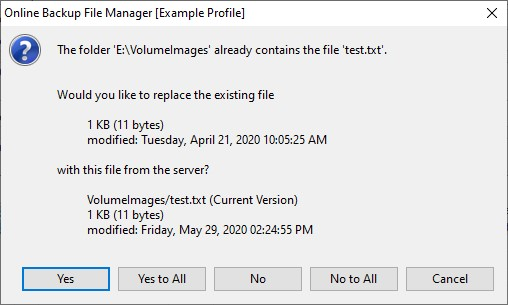
NOTE: You may get a prompt if the file you are trying to restore already exists in the location you selected to restore it.
Choose the proper option for your situation:
NOTE: If restoring data to a server other than the one that created the initial backup, you will be prompted to enter the Axcient account passphrase associated with the data that was backed up.
Enter the passphrase; then click OK.
CAUTION: If the purpose of the restore is to recover a system after a catastrophic failure or a system refresh, please review following article and refer to it during the restore process:
How do I restore my data and continue incremental backups after my computer crashes?
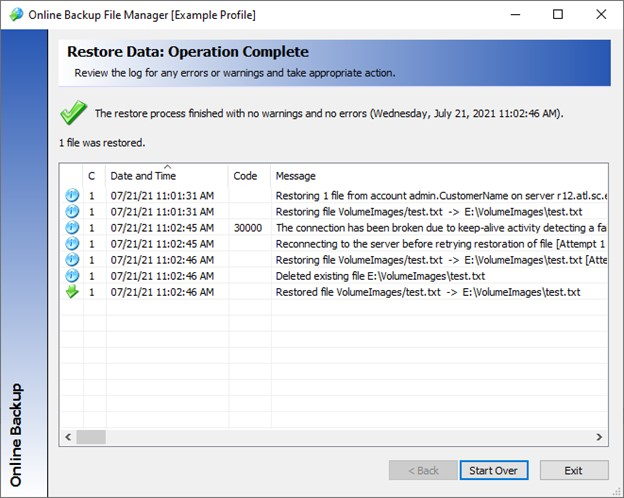
9. After the files are restored, a window will display the results of the operation.
After the files are restored, a window will display the results of the operation.
Select Start Over to repeat the process or Exit to finish.
SUPPORT | 720-204-4500 | 800-352-0248
- Contact Axcient Support at https://partner.axcient.com/login or call 800-352-0248
- Free certification courses are available in the Axcient x360Portal under Training
- To learn more about any of our Axcient products, sign up for a free one-on-one training
- Subscribe to the Axcient Status page for a list of status updates and scheduled maintenance
858