
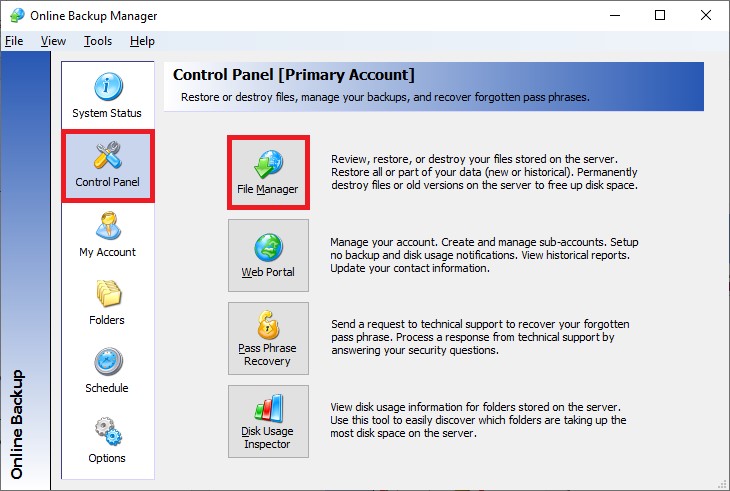
STEP 1. Open the Online Backup Manager and select File Manager in the Control Panel page.
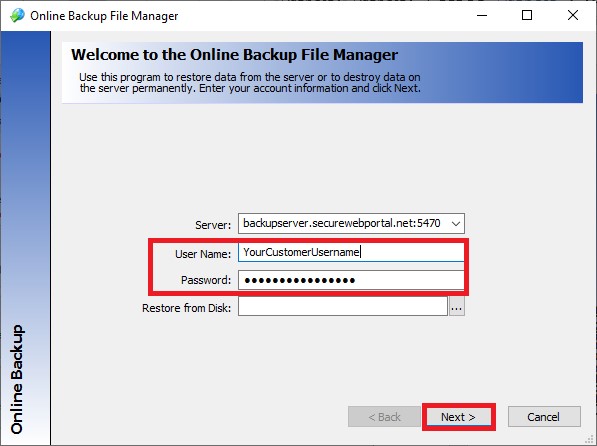
STEP 2. Select the desired back up location from the drop-down menu in the Server field.
You can choose from the destinations defined on the Remote Server, Local Server or Local Disk fields of the My Account page in the Backup Manager.
Then click Next.
|
When rebuilding the cache for the remote server, you can enter the user name and password for any account on the Axcient Web Portal, not just the account for the local computer you’re using. This only works for the remote server option. |
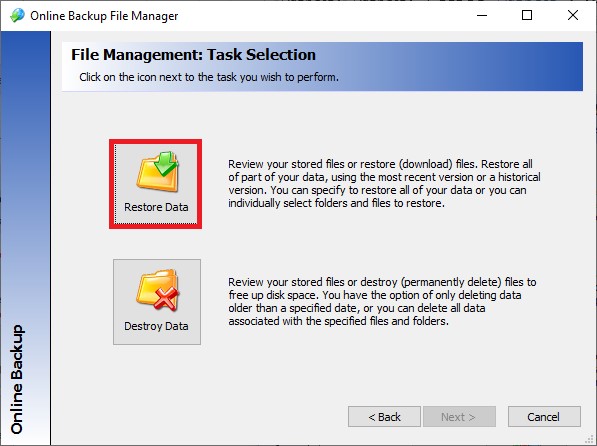
STEP 3. Click the Restore Data button.
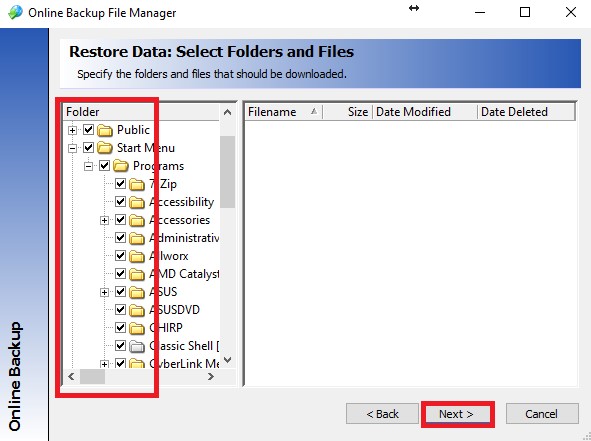
STEP 4. Select the folders and/or files to rebuild the incremental cache for. (Typically, this would be all folders/files.)
Then click Next.
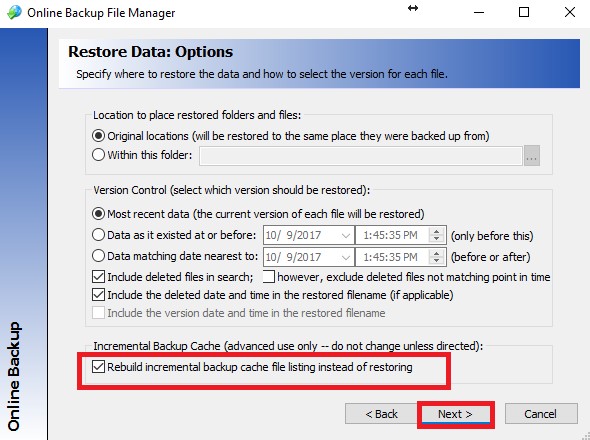
STEP 5. Select the following options on the Restore Data: Options page:
- Location to place restored folders and files: The top option will restore data to the original location.
- Version Control: Choose the top option Most recent data
- Incremental Backup Cache: Check the check-box that says Rebuild incremental backup cache (advanced).
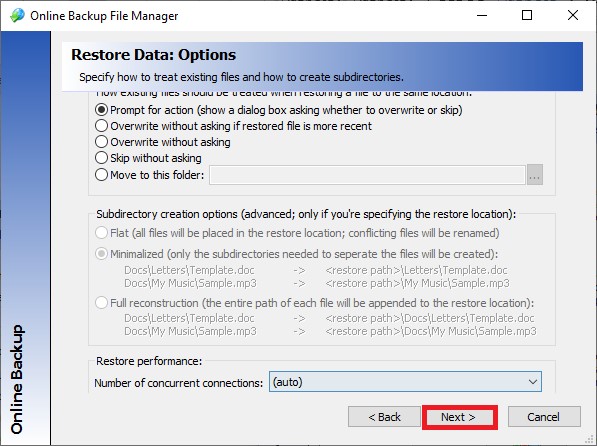
STEP 6. On the Restore Data: Options page, click Next.
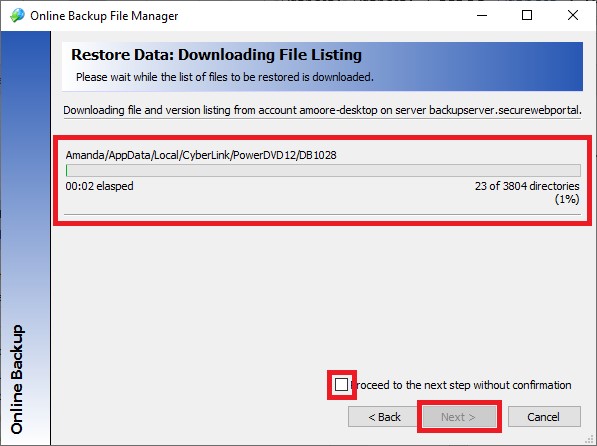
STEP 7. The Backup Manager creates a list of the files selected to be rebuilt for your final verification.
In some cases, this process can take some time.
- While this list is being created, an option Proceed to the next step without confirmation is available. You may select this if the enumeration is taking a long time. If you select this option, the rebuild/restore procedure will automatically start to rebuild the incremental backup cache of the selected files when the file list has been created.
Otherwise, after the file list has been created, review the files marked for rebuilding the incremental backup cache. Verify that you want to proceed with the rebuild of the incremental backup cache for these files. You can modify the selection criteria by selecting the <Back button.
STEP 8. Click the Rebuild button when you are ready to initiate the process for the files in the list.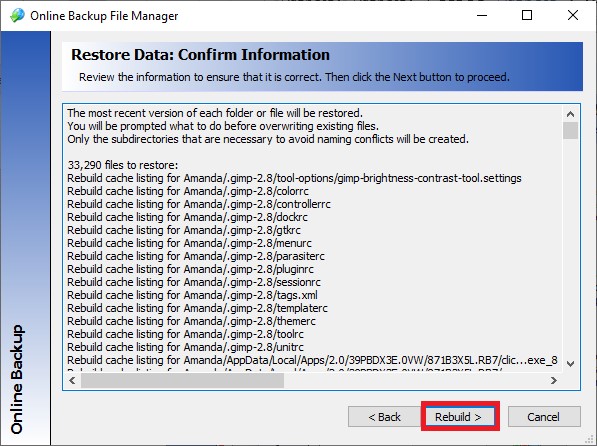
STEP 9. Instead of restoring your data, the incremental backup cache will be rebuilt. This process takes only a few minutes and allows you to resume incremental backups where you left off.
After completion, a window will display the results of the operation.
STEP 10. Select Start Over to repeat the process or Exit to finish.