
You can now use the x360Recover Manager to configure integration with Autotask PSA tools - and start monitoring in minutes.
Get started with Autotask
Configure Autotask PSA settings in Manager (RMC):
1. Log in to x360Recover on the x360Portal.
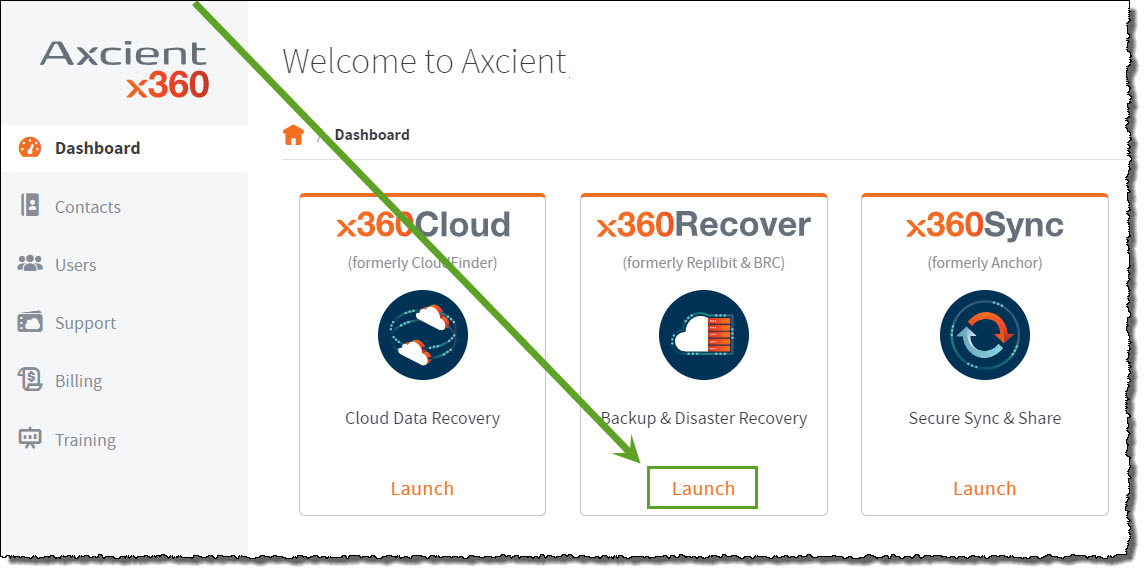
2. On the x360Recover Dashboard, under Organization At A Glance, click on Settings.
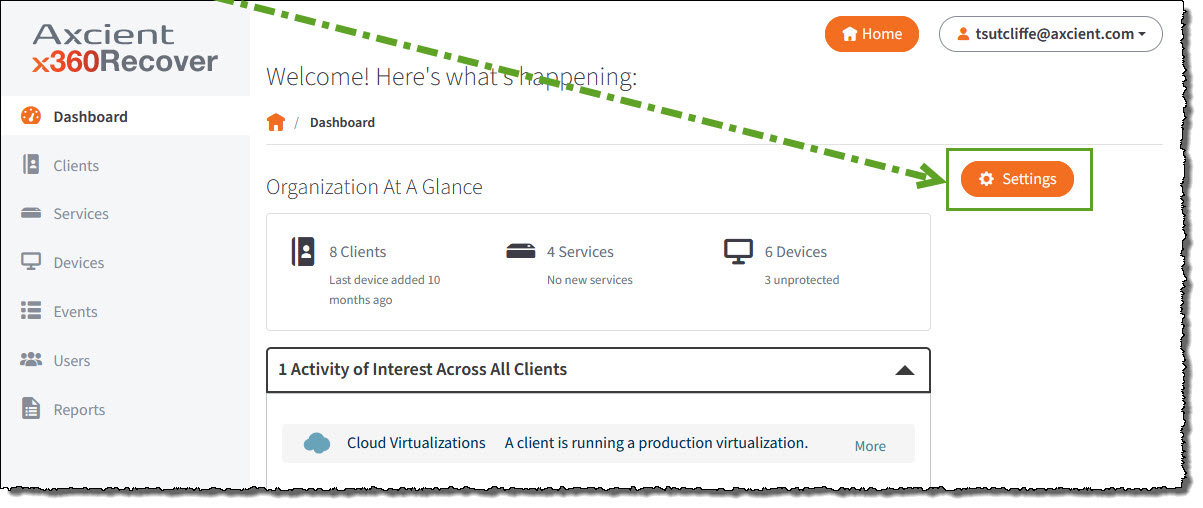
3. When the Organization Settings page opens, scroll down to locate the PSA Tool section and click on the Edit button in the right-hand navigation panel:
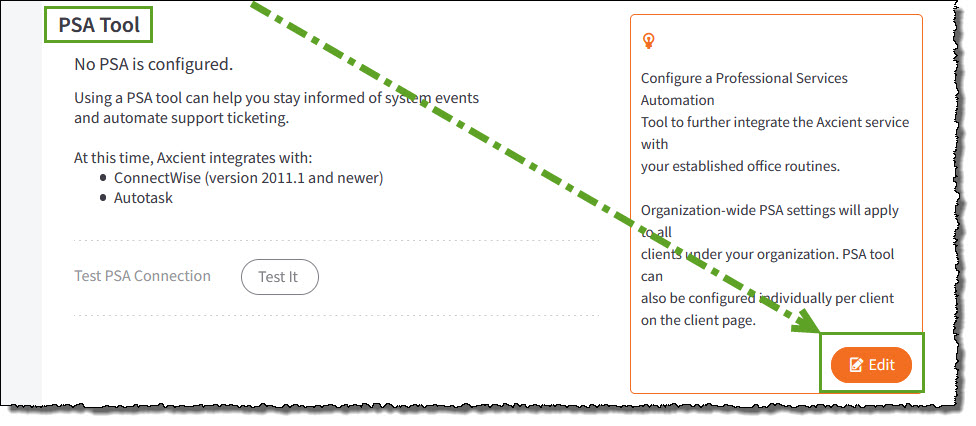
4. When the editing page opens, go to the PSA Tool section.
Locate the Configure using... dropdown menu and select Autotask from the available choices:
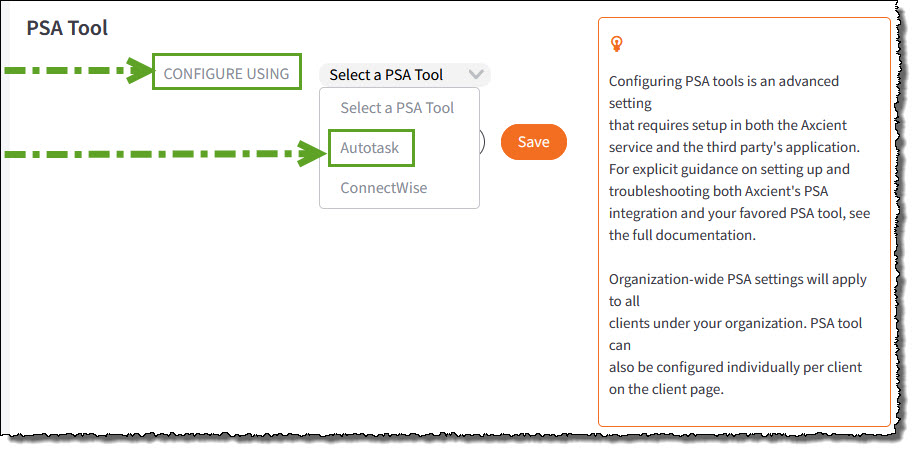
5. The editing page expands to display the PSA Tool configuration settings for Autotask:
|
|
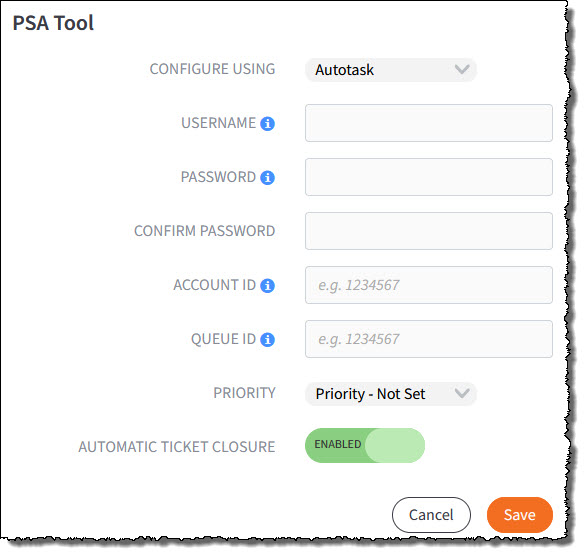
6. Click Save when you are finished.
Collect information you will need from Autotask PSA
As part of the Autotask integration process, you will need to complete a set of basic configuration tasks within the Autotask platform.
This section describes some basic configuration tasks that take place within the Autotask platform. As a best practice, however, we recommend referencing Autotask documentation for complete configuration steps.
Add an API user in Autotask
To add an API user:
1. Navigate to the Admin section
2. Select Extensions & Integrations
3. Select Other Extensions & Tools
4. Select Integration Center
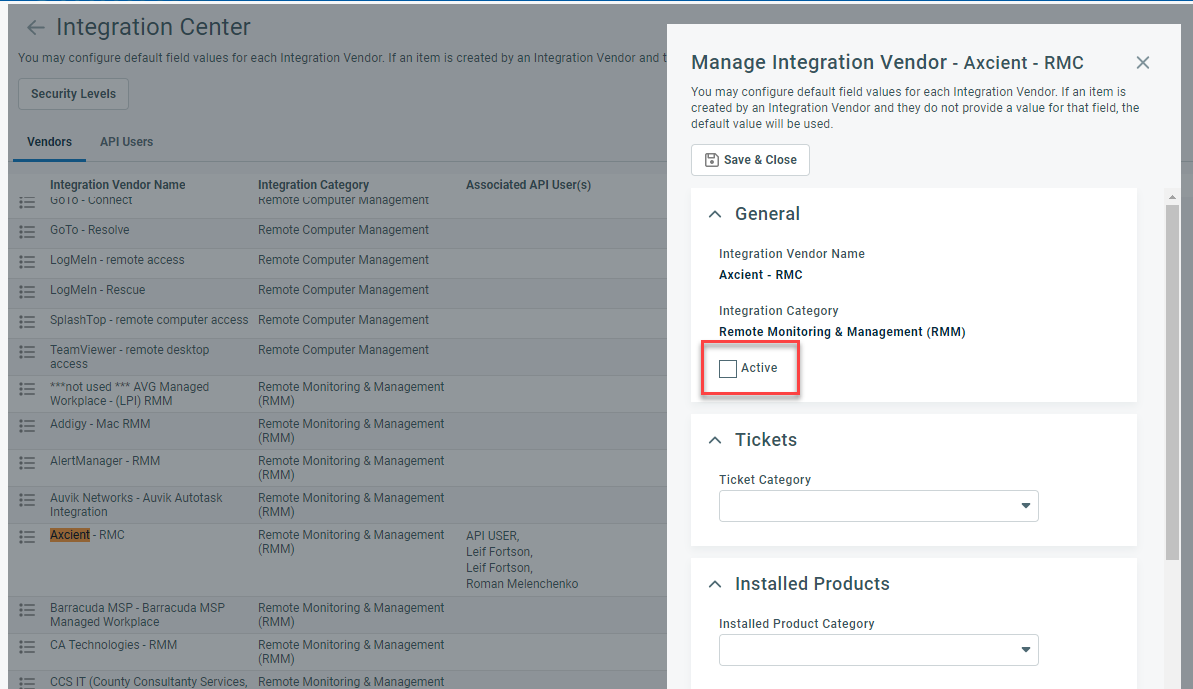
5. Locate the Axcient – RMC integration vendor name
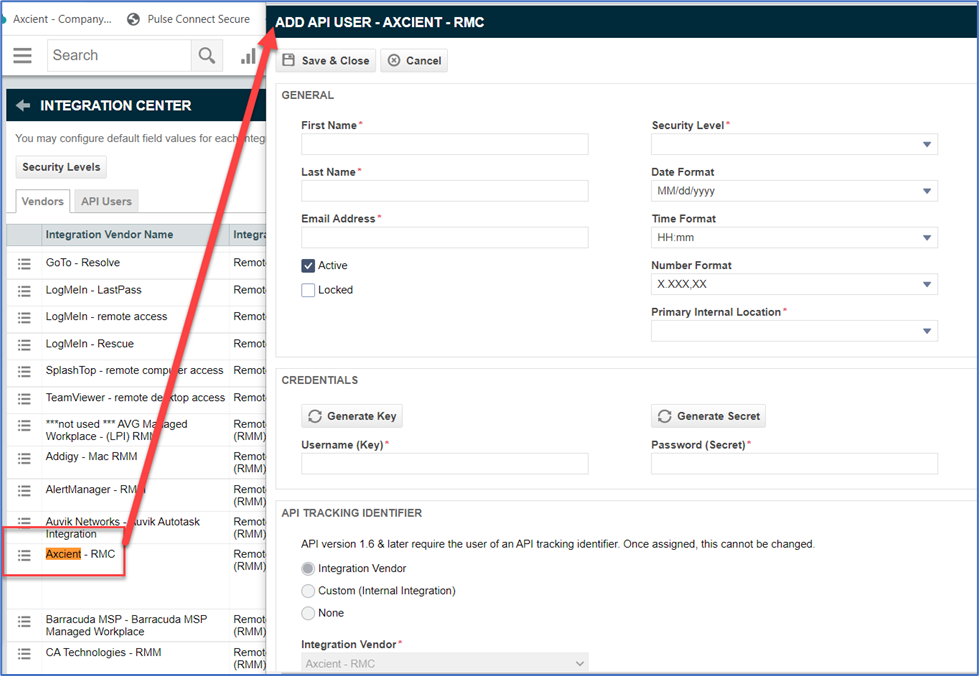
6. Select Add API User
7. Enter First Name and Last Name
8. Select the desired Security Level
9. Enter an Email Address
10. Select a Primary Internal Location
11. Create a Username and Password
12. Under API Tracking Identifier
(a) make sure Integration Vendor is selected
(b) ensure that Integration Vendor has Axcient – RMC selected
(c) Check the Active checkbox to enable this selection:
13. Configure the desired Line of Business and click Save & Close
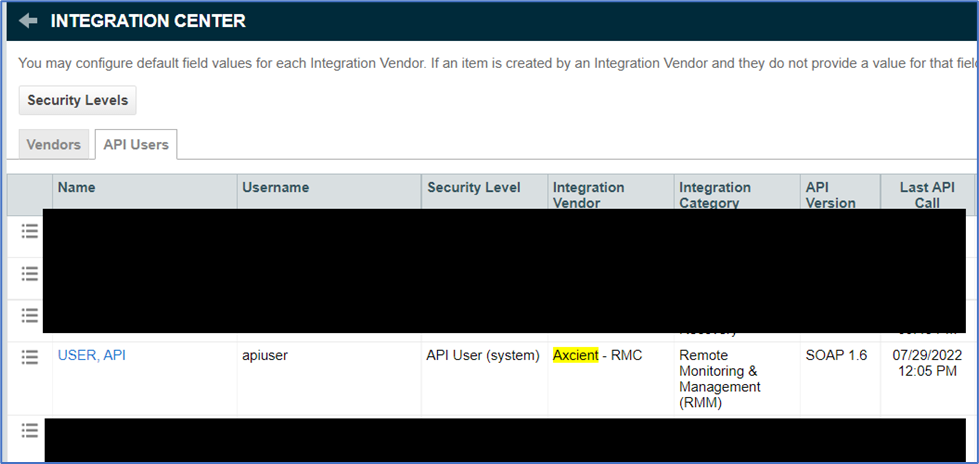
After your API user has been added, you can verify on the API Users tab.
Verify that the API version states SOAP 1.6.
Obtain the Account ID
The Account ID is found in the Account Details page of the appropriate account.
To obtain the Account ID:
1. On the top navigational menu, point to the My… tab and click Accounts under the CRM section.
2. Use the Search field to find the account.
3. Click the account or right-click the account and select View Account.
4. The Account ID is located in the left-hand section.

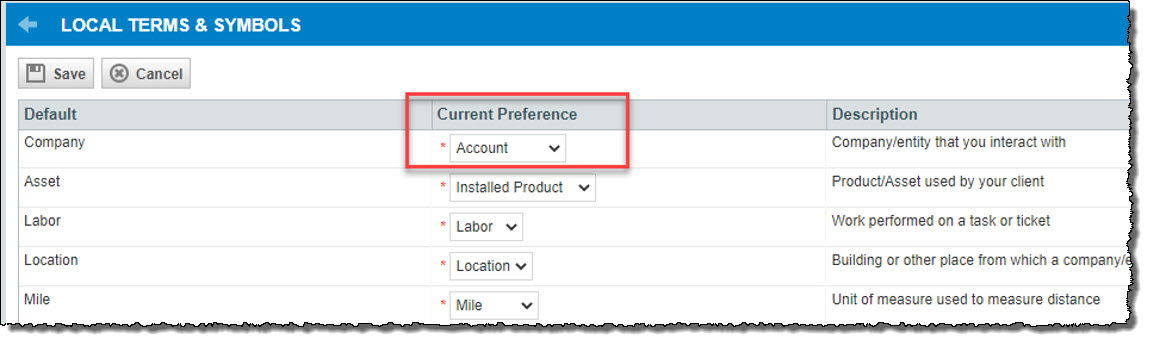
Note: Because Autotask allows users to customize local terms and symbols, it's possible that the Account ID could be named to something like the following:
- Account
- Business Unit
- Client
- Company
- Customer
- Site
The settings for these local terms and settings can be found under Admin -> Features & Settings -> Local Terms & Symbols:
Locate the Queue ID
Follow these steps to locate the Queue ID:
1. Navigate to Admin
2. Click on Features & Settings
3. Click on Service Desk (Tickets)
4. Click on Queues
5. Locate the queue you want to use and click Edit
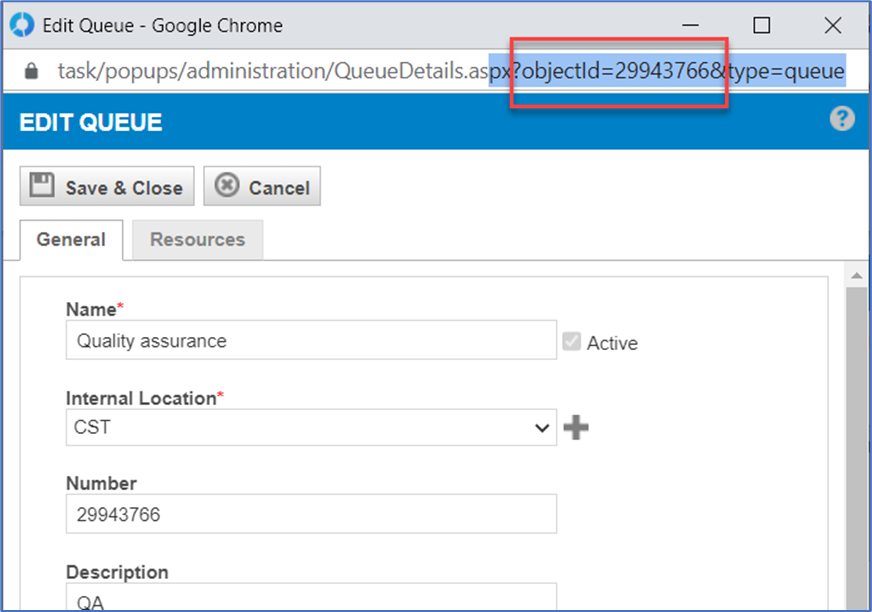
6. In the URL field of the Edit Queue pop up, locate the Object ID value. (This is the Queue ID you will use.):
Important note: The number field value for the Queue ID could differ from the Object ID.
You must use the Object ID value or the integration will not work.
SUPPORT | 720-204-4500 | 800-352-0248
- To learn more about Axcient products, sign up for free one-on-one training.
- Please contact your Partner Success Manager or Support if you have specific technical questions.
- Subscribe to the Axcient Status page for status updates and scheduled maintenance
579 | 1165 | 1253 | 1491