
To ensure the best experience when recovering data from failover cluster servers, the following optional configuration steps are recommended for your failover cluster nodes.
Table of Contents
Best Practice #1: Assign Drive Letters to Shared VolumesBest Practice #2: Capture complete backups before seedingBest Practice #1: Assign drive letters to shared volumes
When virtualizing a protected system, protected disk volumes that do not have a drive letter assigned and are normally only accessible at a mount point (such as C:\ClusterStorage\<Volume> ) will not be mounted automatically.
Because of this, such volumes will not be checked during AutoVerify operations, and will also not be accessible within the file browser when a snapshot is mounted.
It is a good practice to assign a consistent drive letter to shared disks and CSV volumes across all nodes within the failover cluster.
Note that shared disks that are part of a cluster role (like a Windows file share, for example) support managed drive letter assignment.
Assigning a drive letter to such volumes using the Failover Cluster Manager persistently maps that drive letter for the disk volume across all nodes.
- Select the cluster disk that has been assigned to a role.
- Right click the volume.
- Click Change Drive Letter.
ClusterStorage folder
Cluster Shared Volumes do not provide managed drive letter assignment and are instead mounted automatically in a mount point at C:\ClusterStorage.
The ClusterStorage folder is a magic Microsoft object to which only Cluster Shared Volume disks can be mounted.
With Server 2012 and newer, a drive letter can optionally be assigned to a Cluster Shared Volume using Disk Manager. Note that assigning drive letters to a Cluster Shared Volume is purely local to the node. (Server 2008 R2 does NOT allow assignment of drive letters to Cluster Shared Volumes.)
Open Computer Management, select Disk Management, right-click the volume and select Change Drive Letter and Path.
As drive letters are not managed, you must manually assign consistent drive letters to the volume individually on each node. Migrate each Cluster Shared Volume to each failover cluster node in turn and assign the same drive letter to the volume using Disk Management for each node within the cluster.
Best Practice #2: Capture complete backups before seeding
If you intend to ship the initial full backup data for your protected systems to the cloud using USB seeding, ensure that you have a complete backup of each node before generating the USB seed drive.
Cluster volumes are only backed up by the node to which they are presently attached during each backup cycle.
When backing up failover cluster server nodes, each protected system will capture and separately back up each of the volumes shared within the cluster. For example, if you have three failover cluster nodes, hosting two Cluster Shared Volumes, each node will eventually back up a complete copy of each disk volume, and each volume will be stored on the appliance three times, once within the backup set of each failover cluster node.
In order to ensure that your seed drive contains a complete copy of all disk volumes, be sure to move each cluster-shared resource to each node in turn and capture a backup with all of the resources present.
Also, when selecting the base image from which to create your seed data, be sure to select a backup snapshot that is not older than the first time you performed a backup with all cluster volumes present on the node. For example, in a three-node failover cluster with two Cluster Shared Volumes, if both volumes are on node 1 during the initial backup, node 2 and node 3 will have backups of their local volumes, but no copy of the shared volumes will exist within the backup set until the shared volumes are moved to that node and another backup is performed.
The snapshot selected for a base image doesn’t necessarily need to be one in which the shared volumes were present, so long as a backup of the shared volumes was performed at least once in a prior backup operation on that node, ensuring that the initial base image of the volume has been captured by the agent for this node.
To identify which shared volumes have been backed up on a given protected system:
1. Open the Protected Systems page on the lefthand navigation and click on the appropriate System Name. 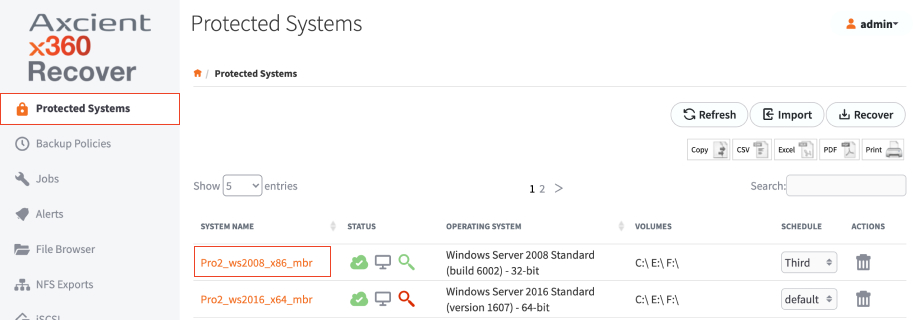
2. Scroll down to Snapshots and refer to the CSV column to identify which volumes were present during each backup.
SUPPORT | 720-204-4500 | 800-352-0248
- To learn more about any of our Axcient products, sign up for free one-on-one training.
- Please contact your Partner Success Manager or Support if you have specific technical questions.
- Subscribe to the Axcient Status page for a list of status updates and scheduled maintenance.