
Problem: The user needs to replace the RAID cache module for rack-mounted units
Cause: The user may need to replace the RAID cache module for a number of reasons.
Solution: First, locate the RAID module in the back of the appliance. To replace the module, please do the following:
1. Unscrew top. The user can Ignore the warranty sticker.
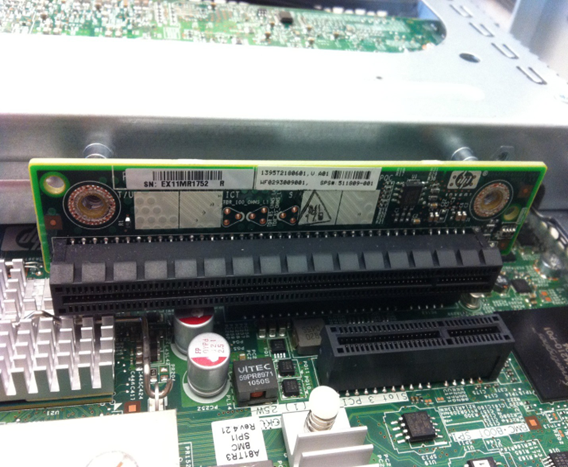
2. Find the PCI riser, which is connected to the RAID controller.
3. Pull the PCI riser up and the user will see a component that resembles RAM. This is the RAID cache module.
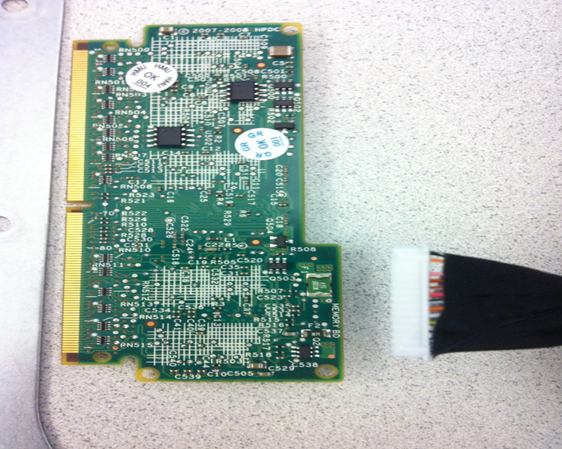
4. Take the RAID cache module out. The RAID cache module has two retention clips that will pull out much like RAM.
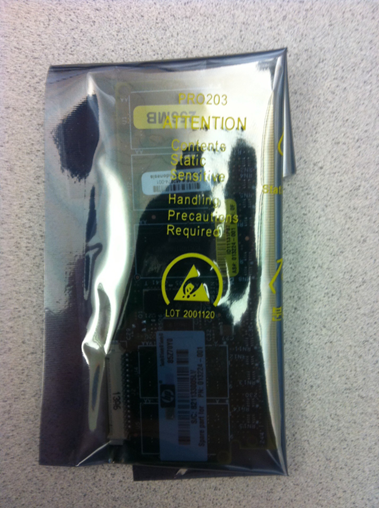
5. Install the new module.
6. Replace screw(s) for PCI Riser. Screw top back on.
Here is an illustrated example of this process:
The following steps are used to replace the 256MB memory cache module on the P212 RAID controller card found in the Axcient 1U appliance (HP model DL120).
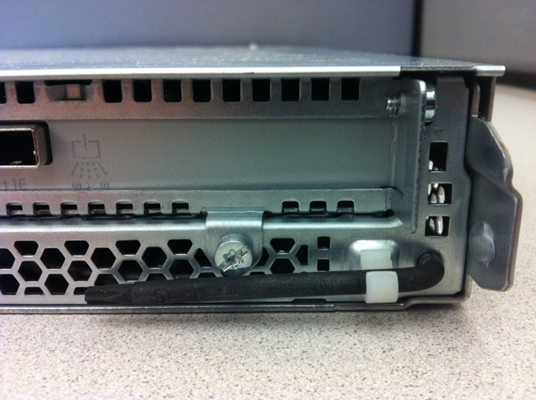
1. Remove the hex key on the back of the server.
2. Locate the tamper seal on the top of the server. 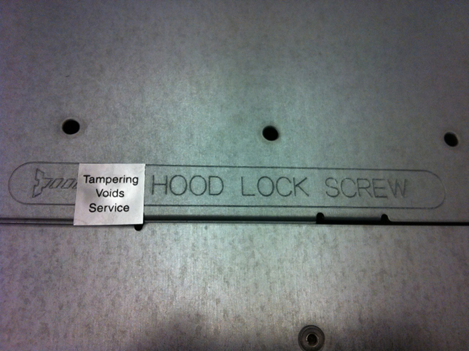
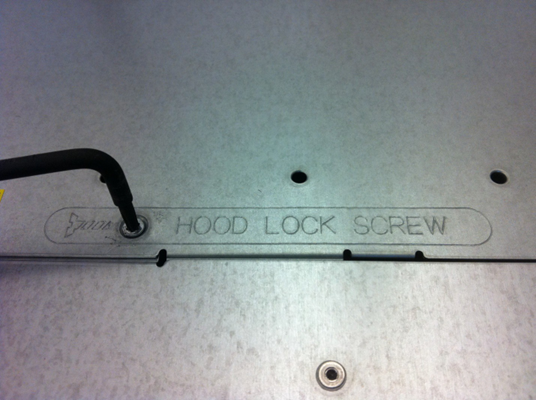
4. Slide the top cover back and then remove it.

5. Remove the highlighted screws using the hex key.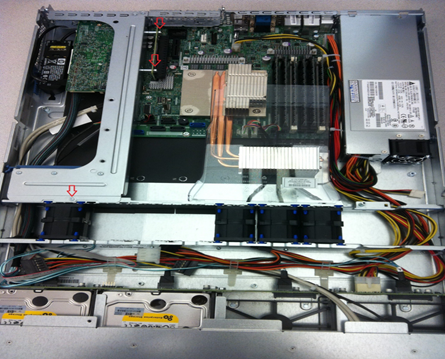
6. Once the screws are removed, remove the following card:
7. Remove these two screws on the back of the appliance, also using the hex key.


10. Locate the cache module and open the clips. This will slightly pop the card out of it slot.


17. Replace the top cover, screw, and tamper seal removed in Steps 3 & 4.
18. Re-‐attach the hex key to the back of the appliance.
SUPPORT | 720-204-4500 | 800-352-0248
- Contact Axcient Support at https://partner.axcient.com/login or call 800-352-0248
- Free certification courses are available in the Axcient x360Portal under Training
- To learn more about any of our Axcient products, sign up for a free one-on-one training
- Subscribe to the Axcient Status page for a list of status updates and scheduled maintenance
1191